4 minutes
Creating Standalone Artifact Collector
I received several positive reactions to my last post about how to perform dead host collections. Therefore, I wanted to follow it up with another post on how to create a standalone collector that can gather artefacts from a running host using Velociraptor.
Velociraptor is an excellent DFIR tool designed to efficiently provide visibility into endpoints. It can operate in a server-agent setup, functioning essentially as an EDR—without the AV, of course—with thousands of hosts. Additionally, it can also serve as a standalone artefact collector.
A standalone collector is an executable that is useful in situations where Velociraptor or other types of collection tools are not present in the environment. For instance, an Incident Responder addressing an incident may want to provide the client’s sysadmin with a quick way to gather artefacts from a suspicious host without the need for tool deployment.
Running Velociraptor in GUI mode
Velociraptor makes it quite easy to create a collector without needing to set up a lot in advance. After downloading the Velociraptor executable from their github page, we can run the executable using the gui parameter. This will present us with the Velociraptor web page, as if we were running it in server mode.
.\velociraptor-v0.6.4-2-windows-amd64.exe gui
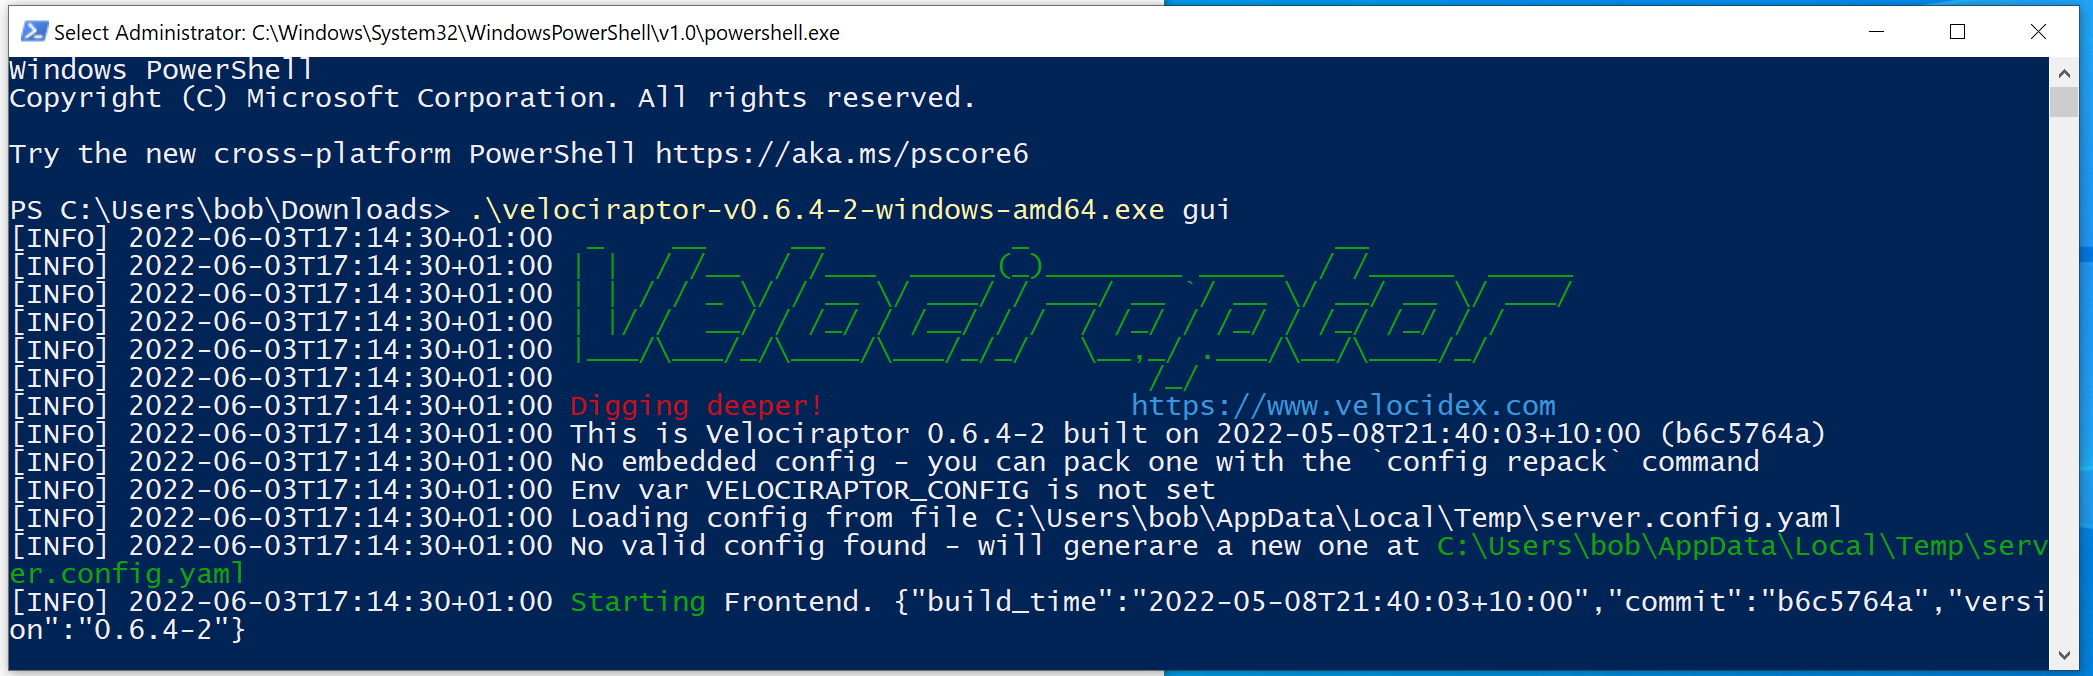
This will also automatically launch the default browser to the Velociraptor web page.
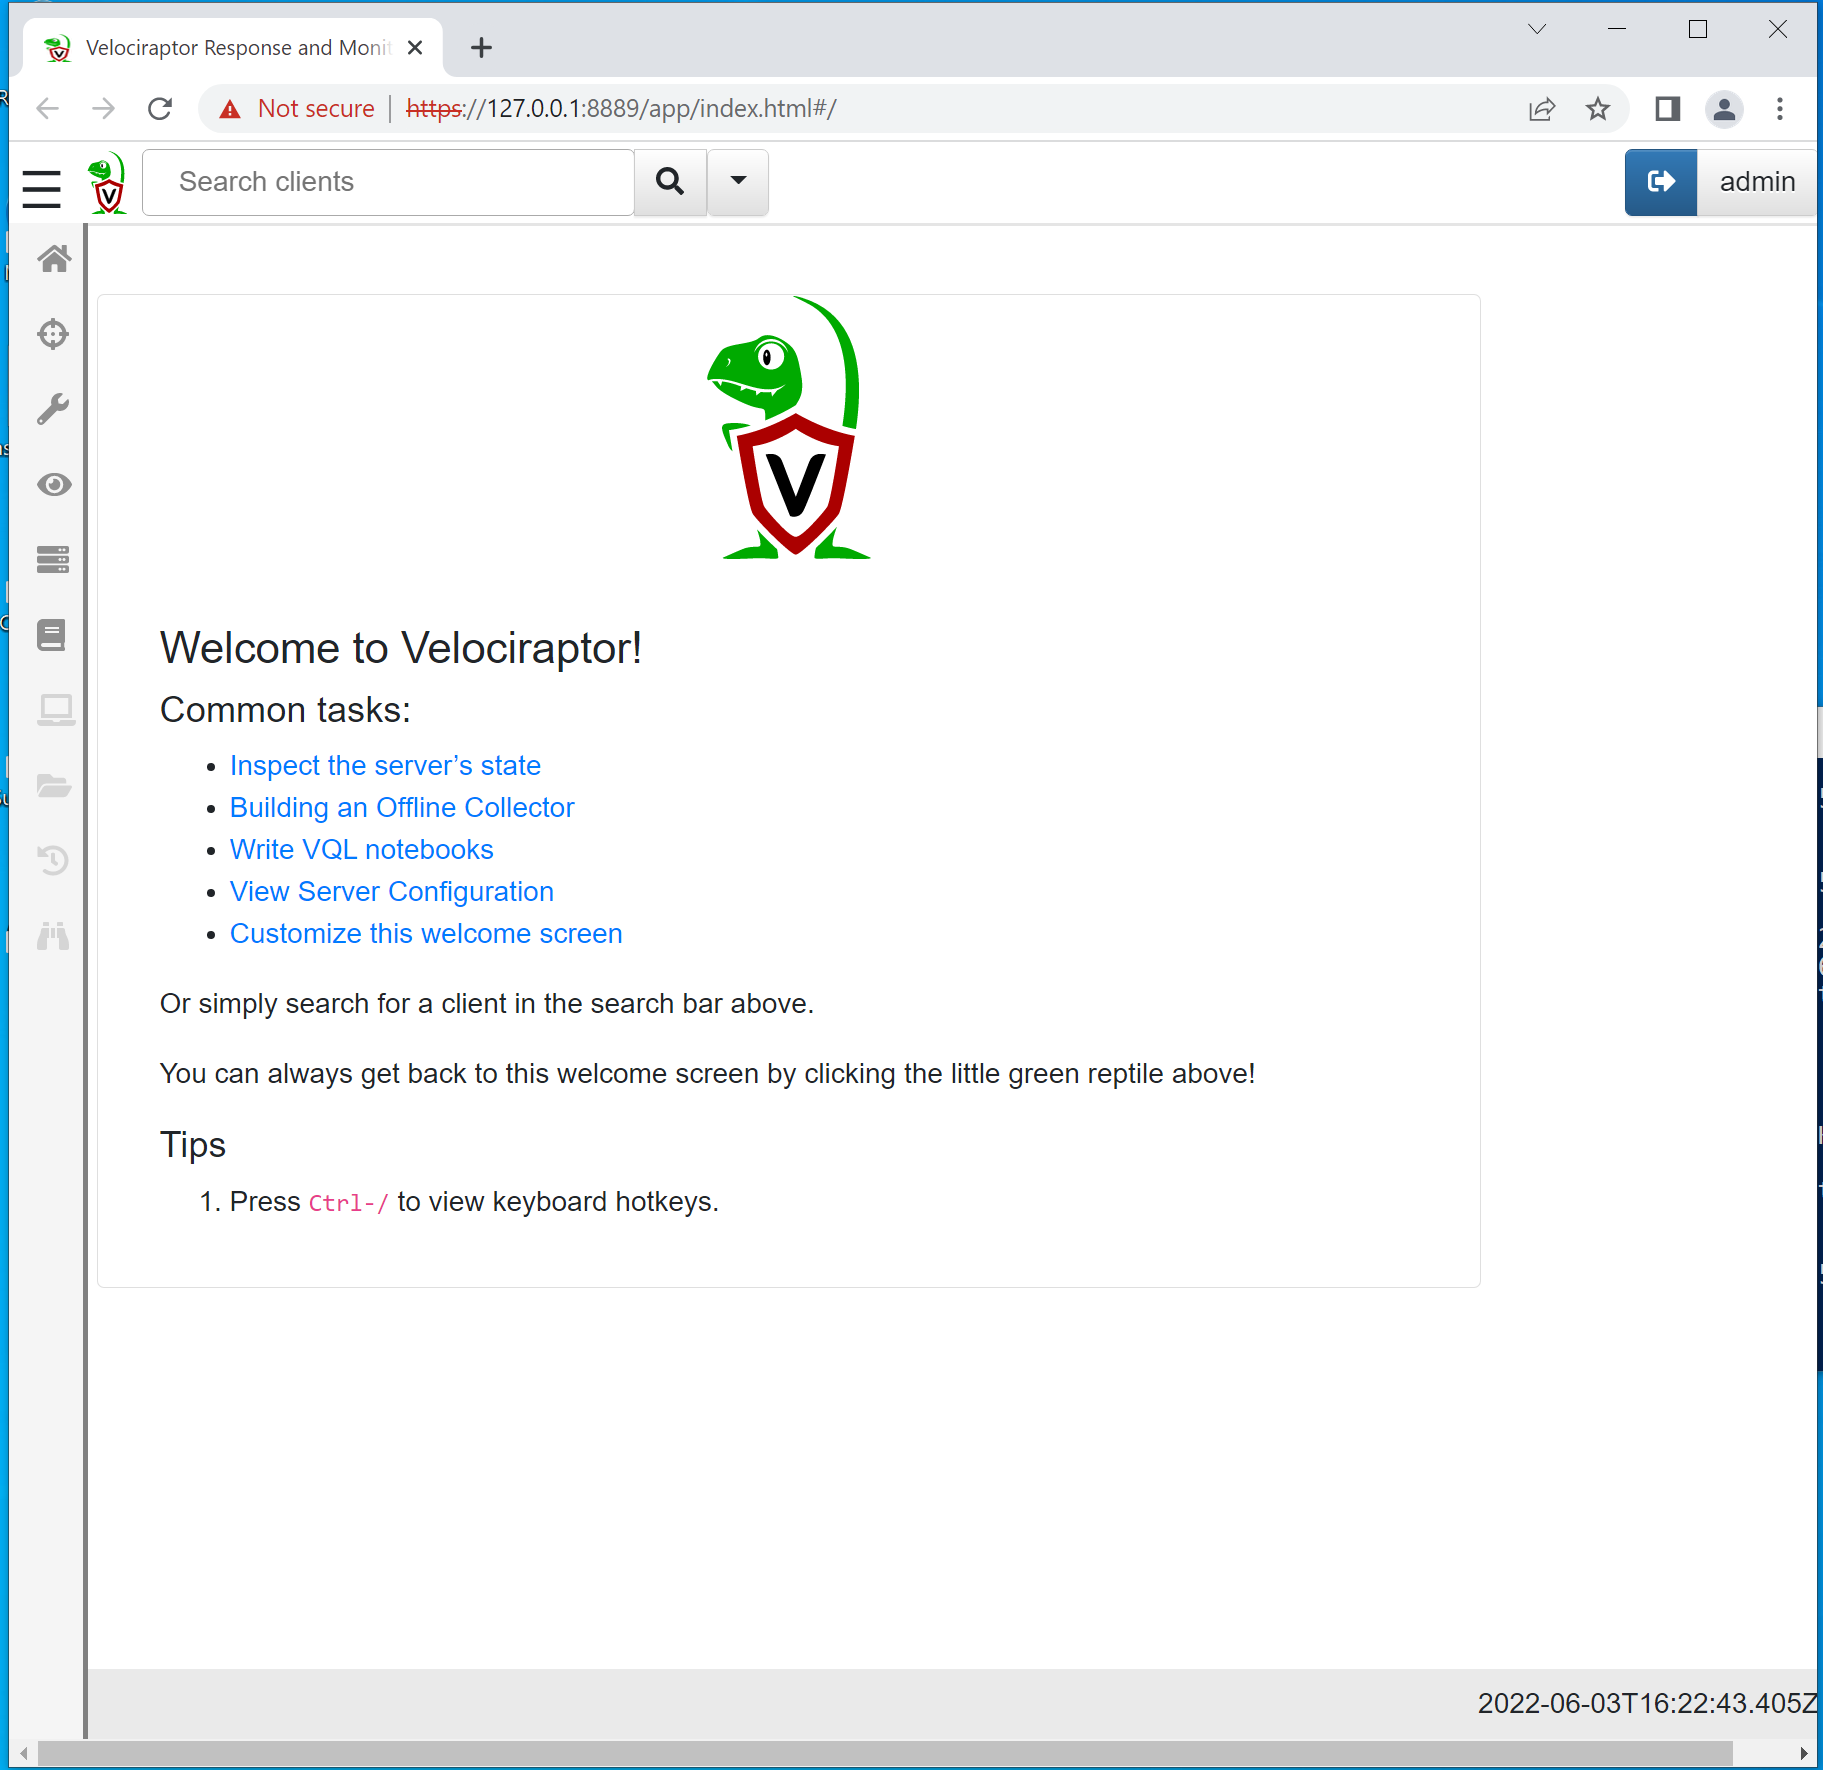
We are now ready to create the collector.
Creating standalone collector
Once the Velociraptor executable is running in GUI mode, we will be able to use its capabilities to create a standalone collector.
To do this, we will go to the Server Artifacts menu tab and press the small plain paper icon called Create Offline Collector. This will open a menu with the various default artifacts that Velociraptor is capable of collecting from hosts.
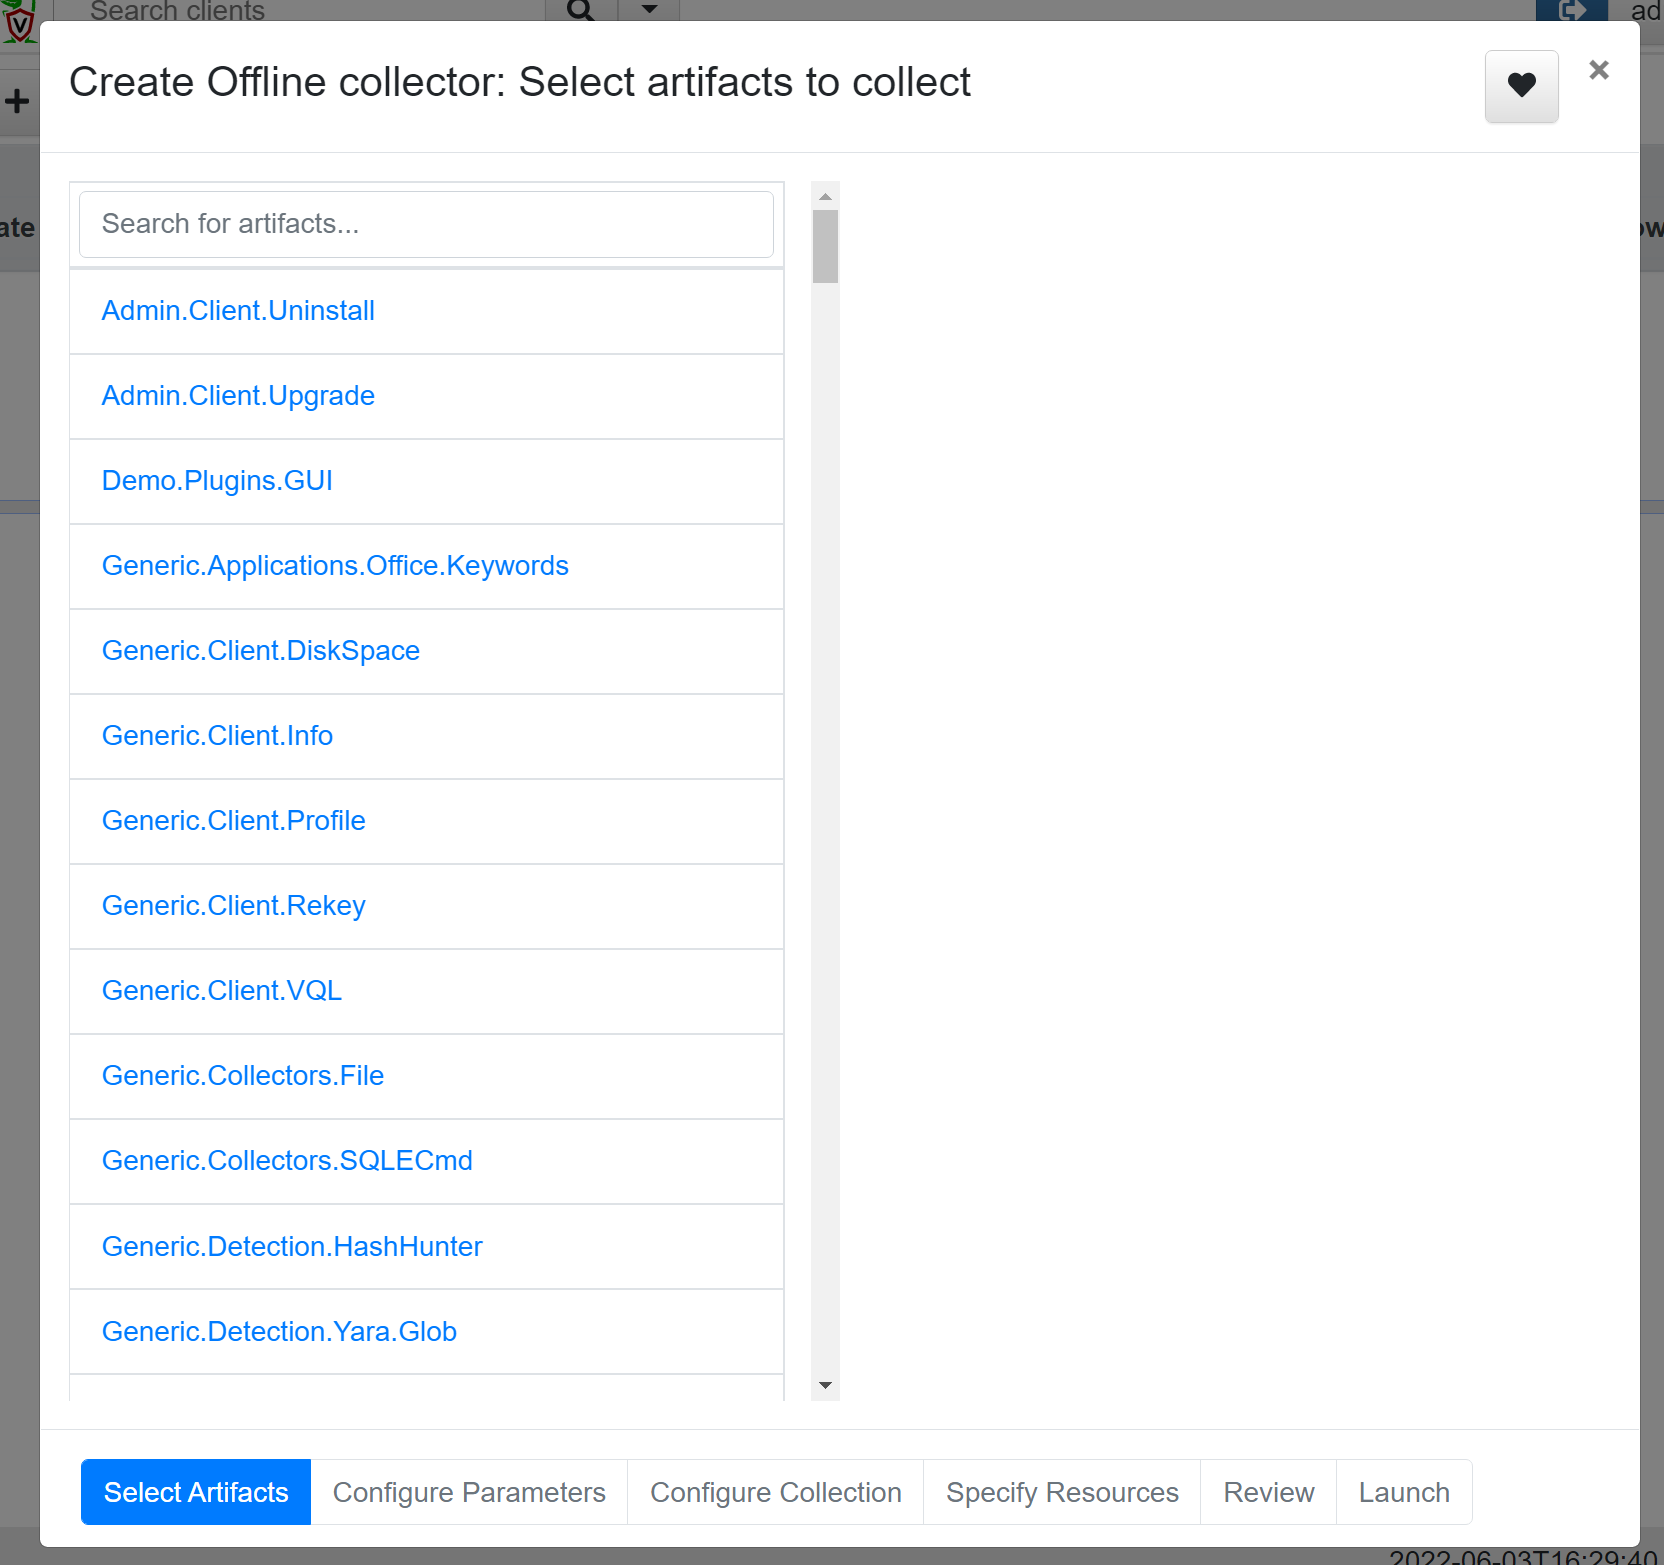
For this exercise, I will choose Windows.KapeFiles.Targets and Windows.Memory.Acquisition. KAPE is developed by Eric Zimmerman and stands for Kroll Artefact Parser and Extractor, which can collect a wide range of artefacts. Windows.Memory.Acquisition will use WinPmem to gather the memory from the machine.
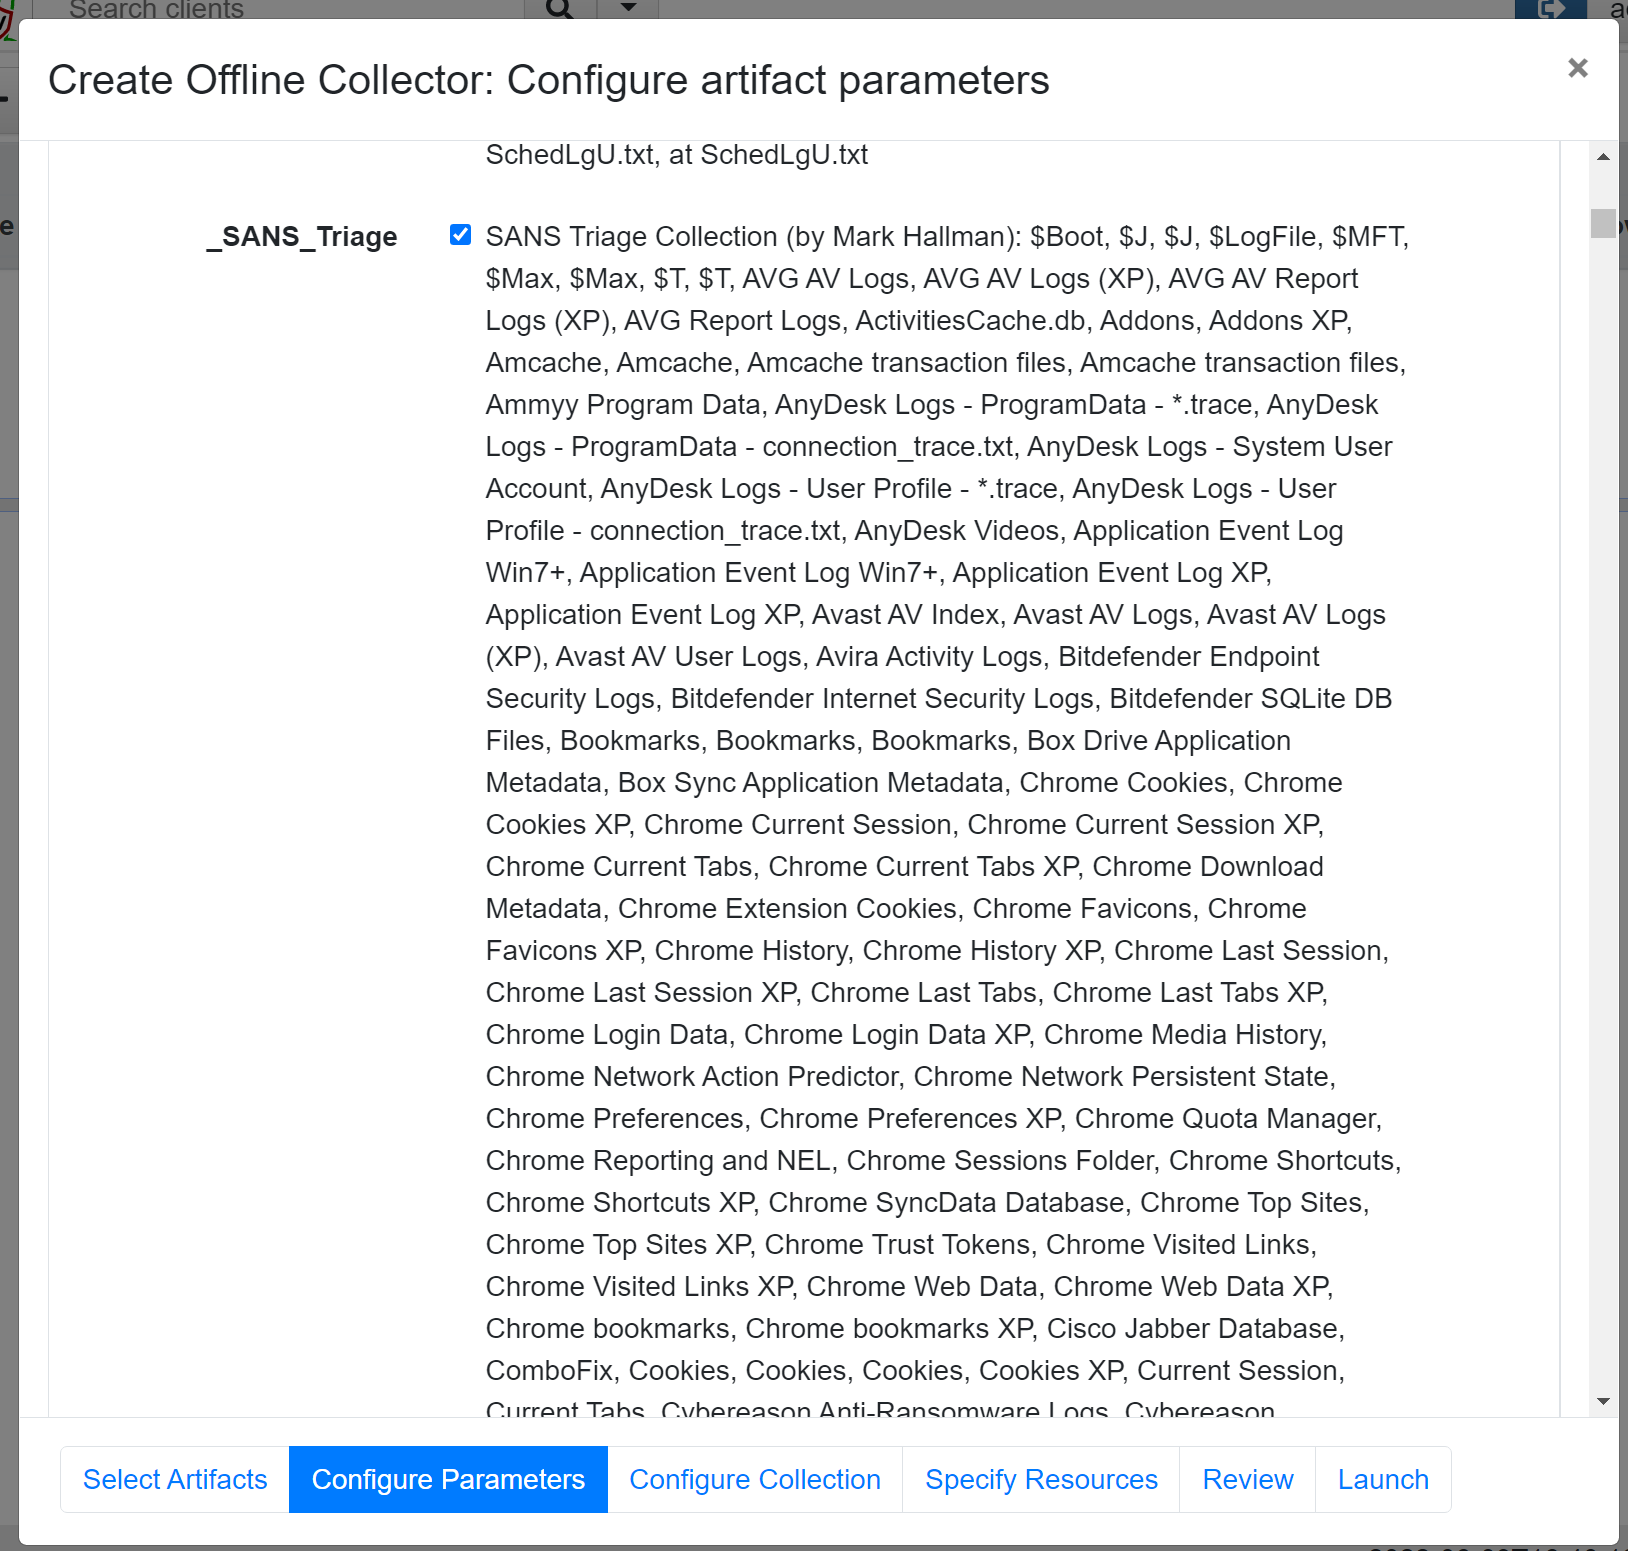
After selecting Windows.KapeFiles.Targets and Windows.Memory.Acquisition, go to the Configure Parameters tab at the bottom. This will display the two selected artefact modules. Next, select the Windows.KapeFiles.Targets module, which will provide a wide variety of artefacts to collect. I recommend choosing the _SANS_Triage artefact list, as it covers a broad range of artefacts and encompasses most use cases.
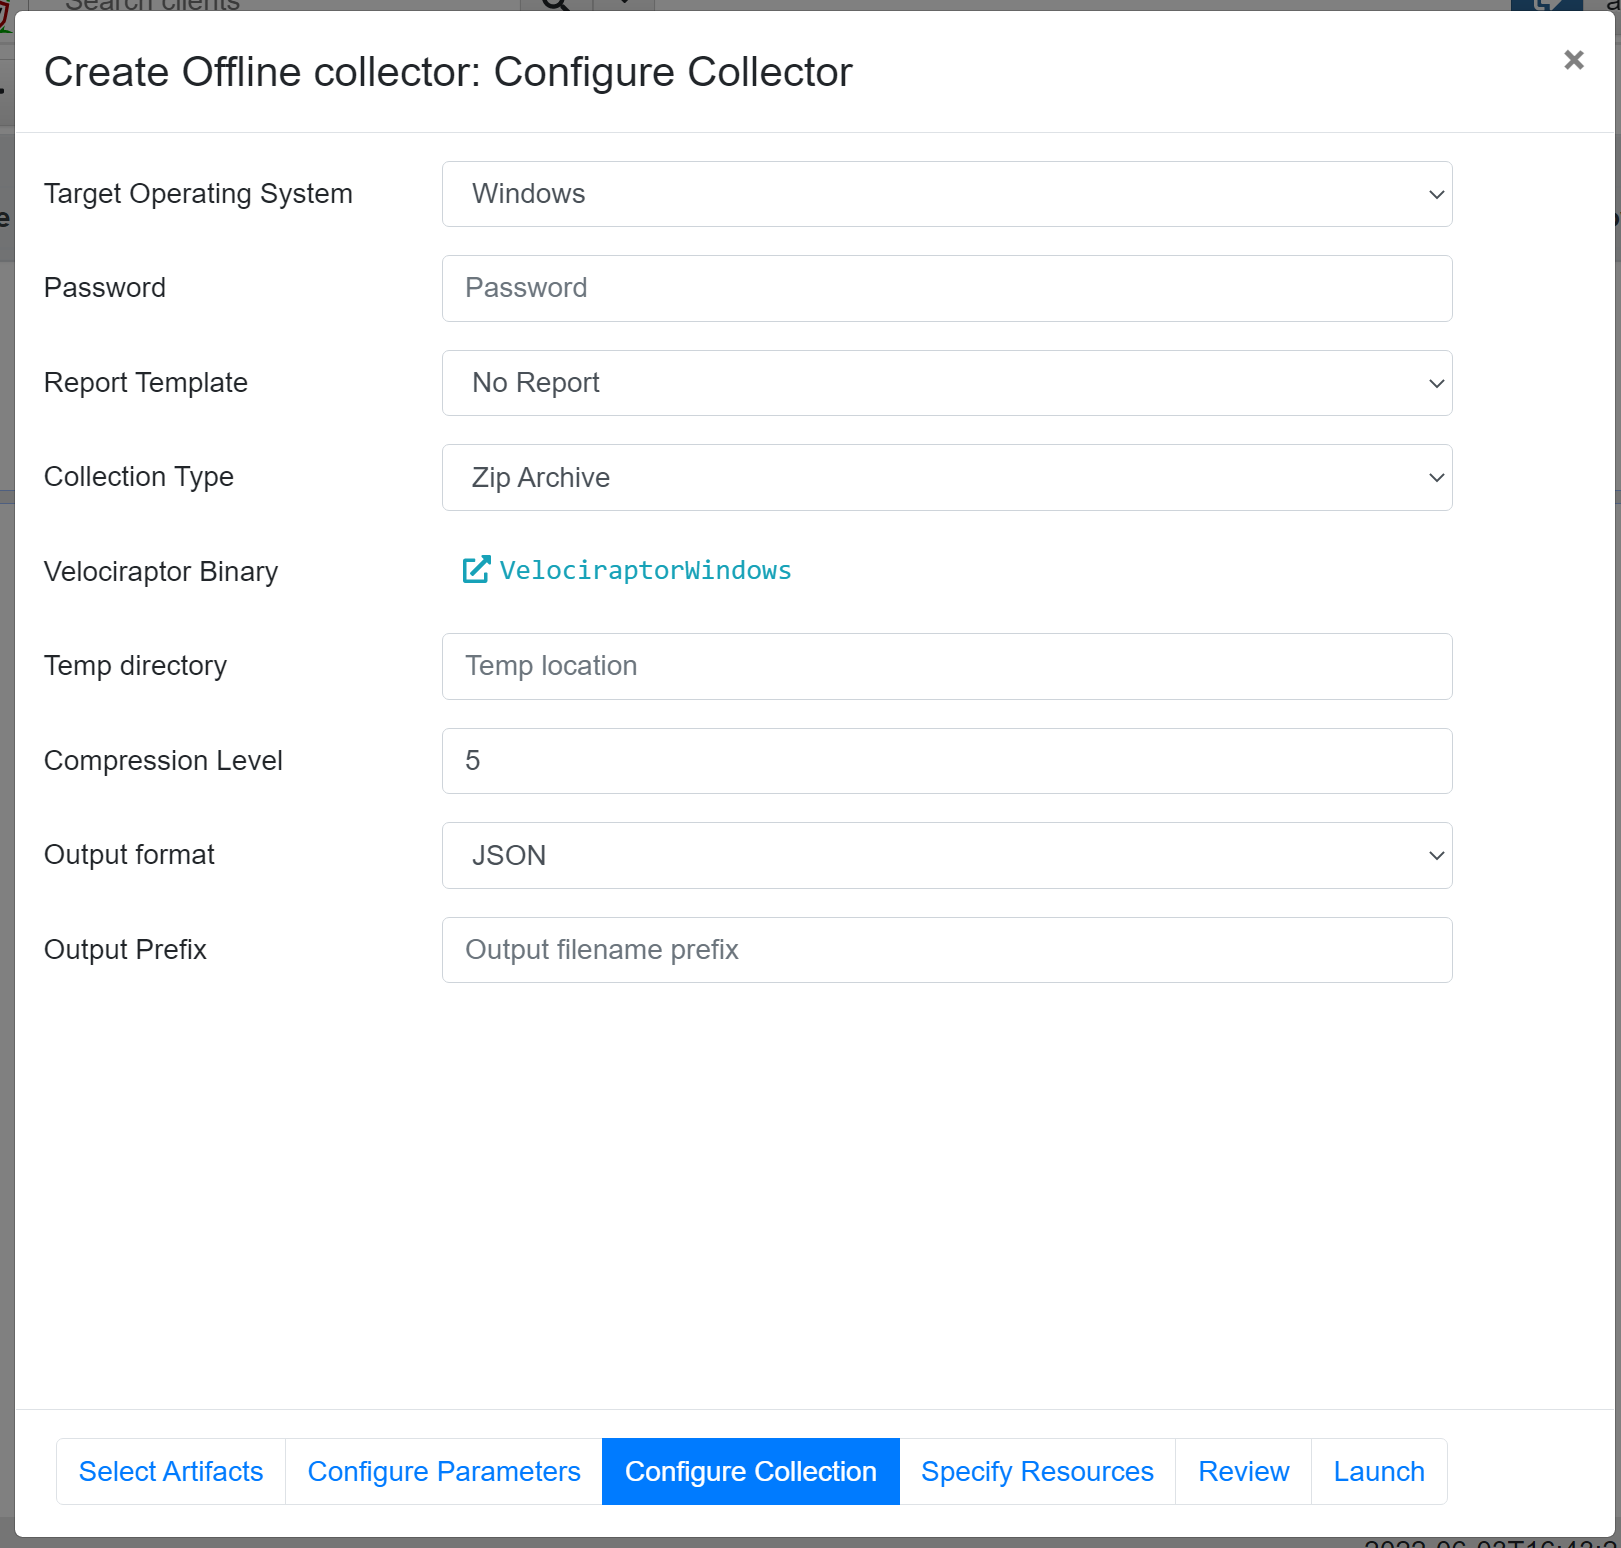
At the next tab Configure Collection, there are multiple settings that can be configured. Some of the more interesting ones are the Collection Type and Password. The Collection Type offers the following options:
- Create a zip file locally on the system
- Upload the zip file directly to a Google Cloud Bucket
- Upload it to an AWS bucket
- Upload to an SFTP server
This is really smart if we have, for example, a Timesketch setup that automatically manages the uploaded artefacts and creates a timeline in Timesketch.
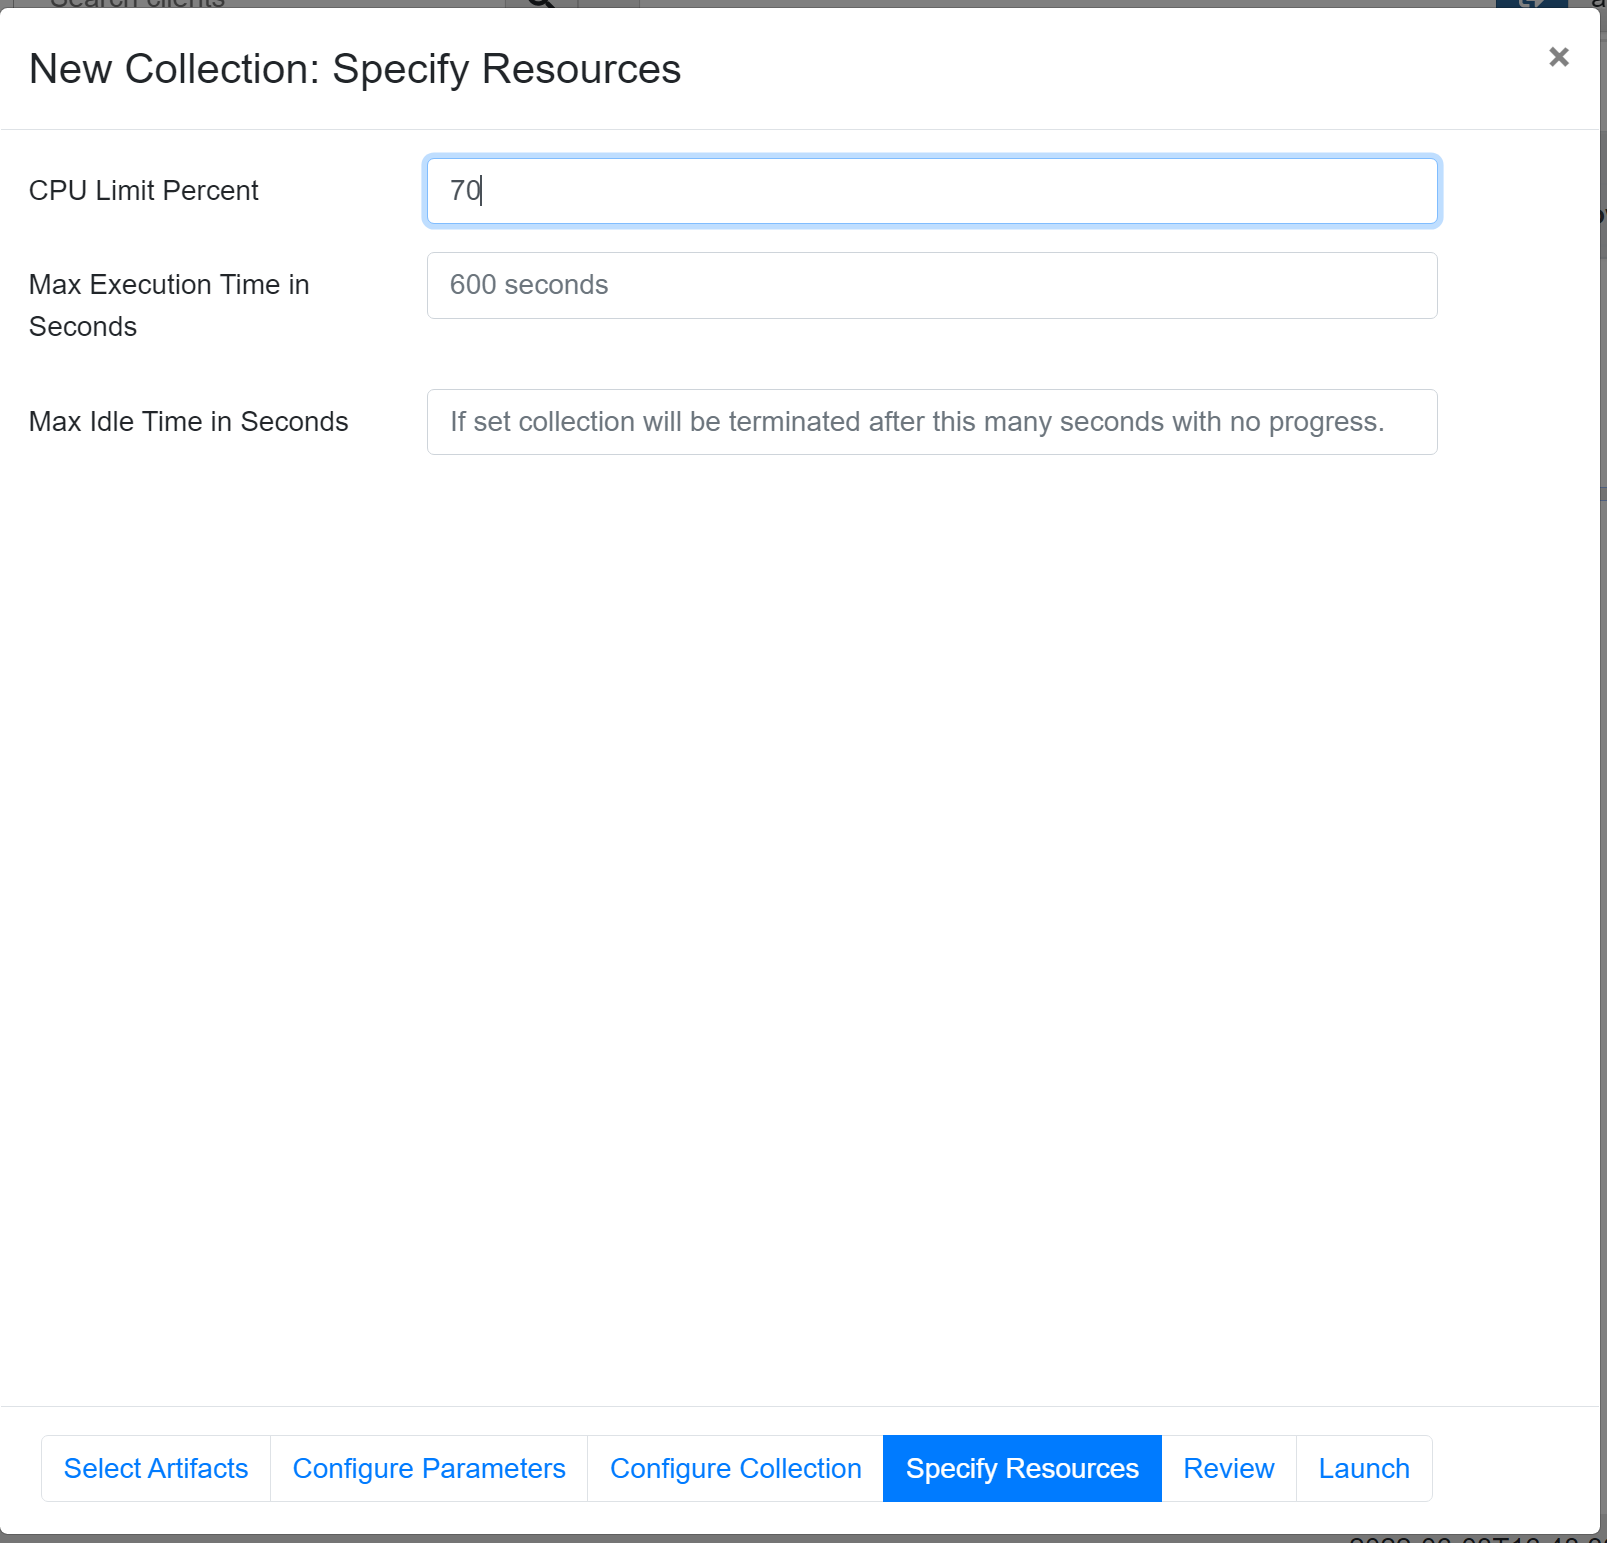
In the Specify resources tab, we can set a limit on the resources used by the Velociraptor collector. By default, the CPU limit is set to 100% and the maximum execution time is 600 seconds. Since we are also collecting memory, this process might take a while, so I recommend setting the maximum execution time a bit higher, e.g., 1200 or 3600 seconds.
Once we have completed the different configurations, we can navigate to the Review tab, check the configuration in JSON, and from there proceed to the Launch tab. The Launch tab will verify all prerequisites, including downloading the WinPmem executable from the Velociraptor repository. The great thing about this is that Velociraptor will embed the executable into the Collector executable, so we won’t have to deal with multiple executables.
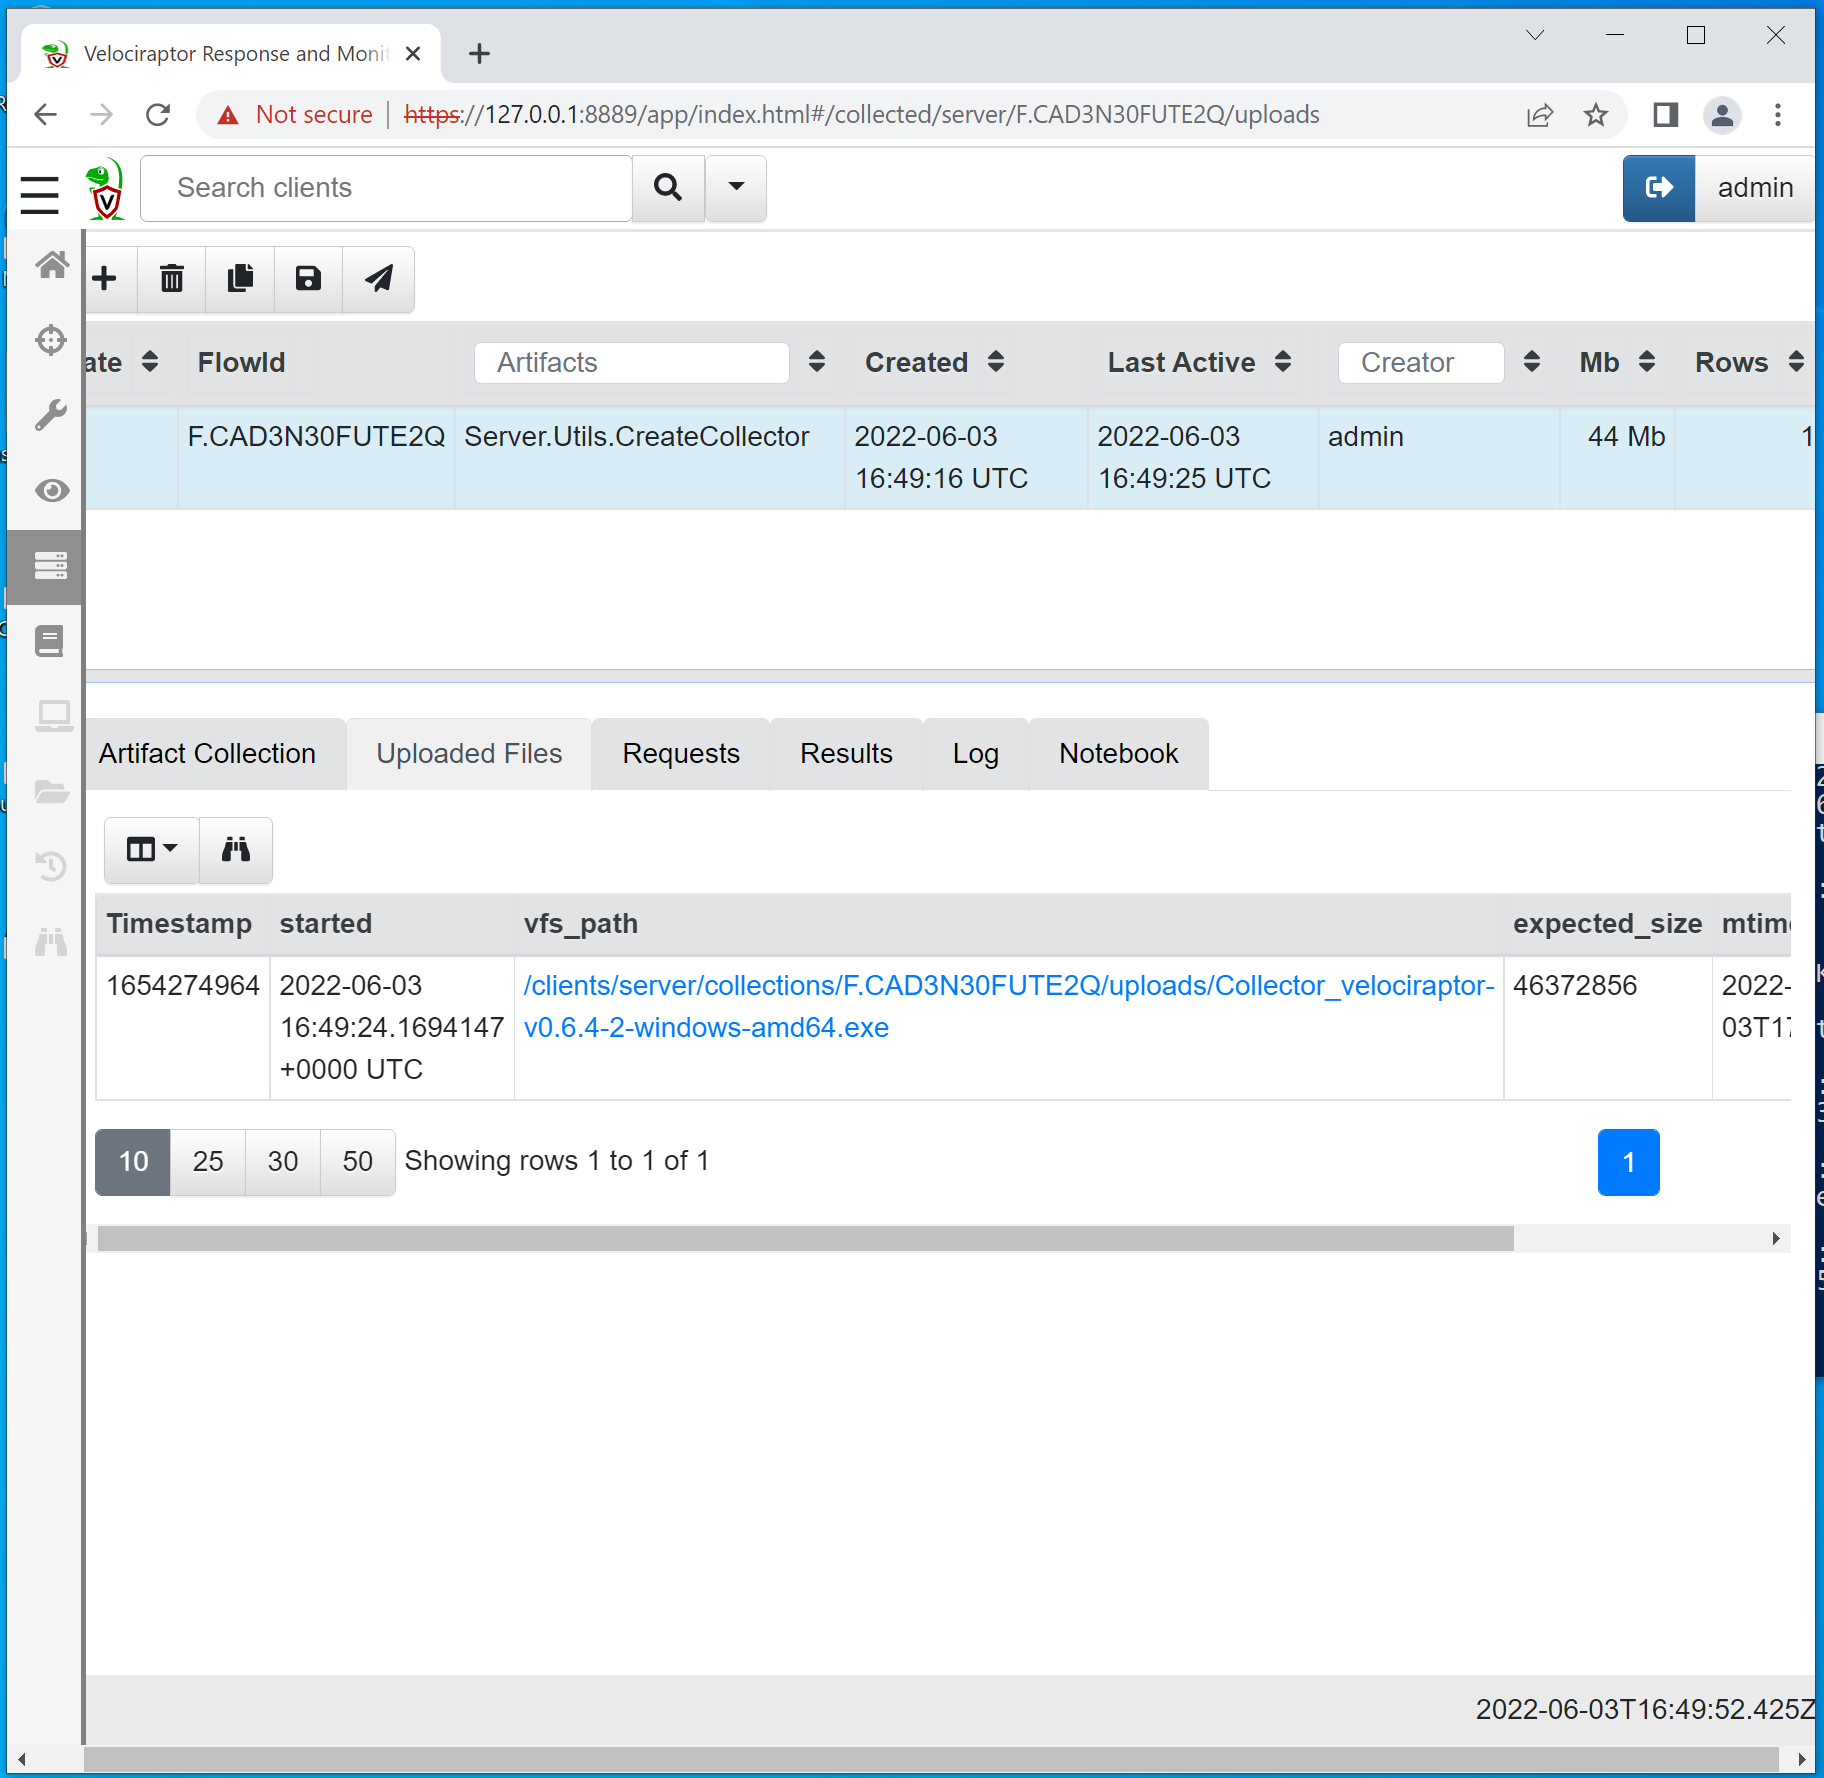
Once everything is green on the Launch tab, we can click the newly created collection and navigate to the Uploaded Files tab, as shown below. Here, we will be able to download the newly created collector executable.
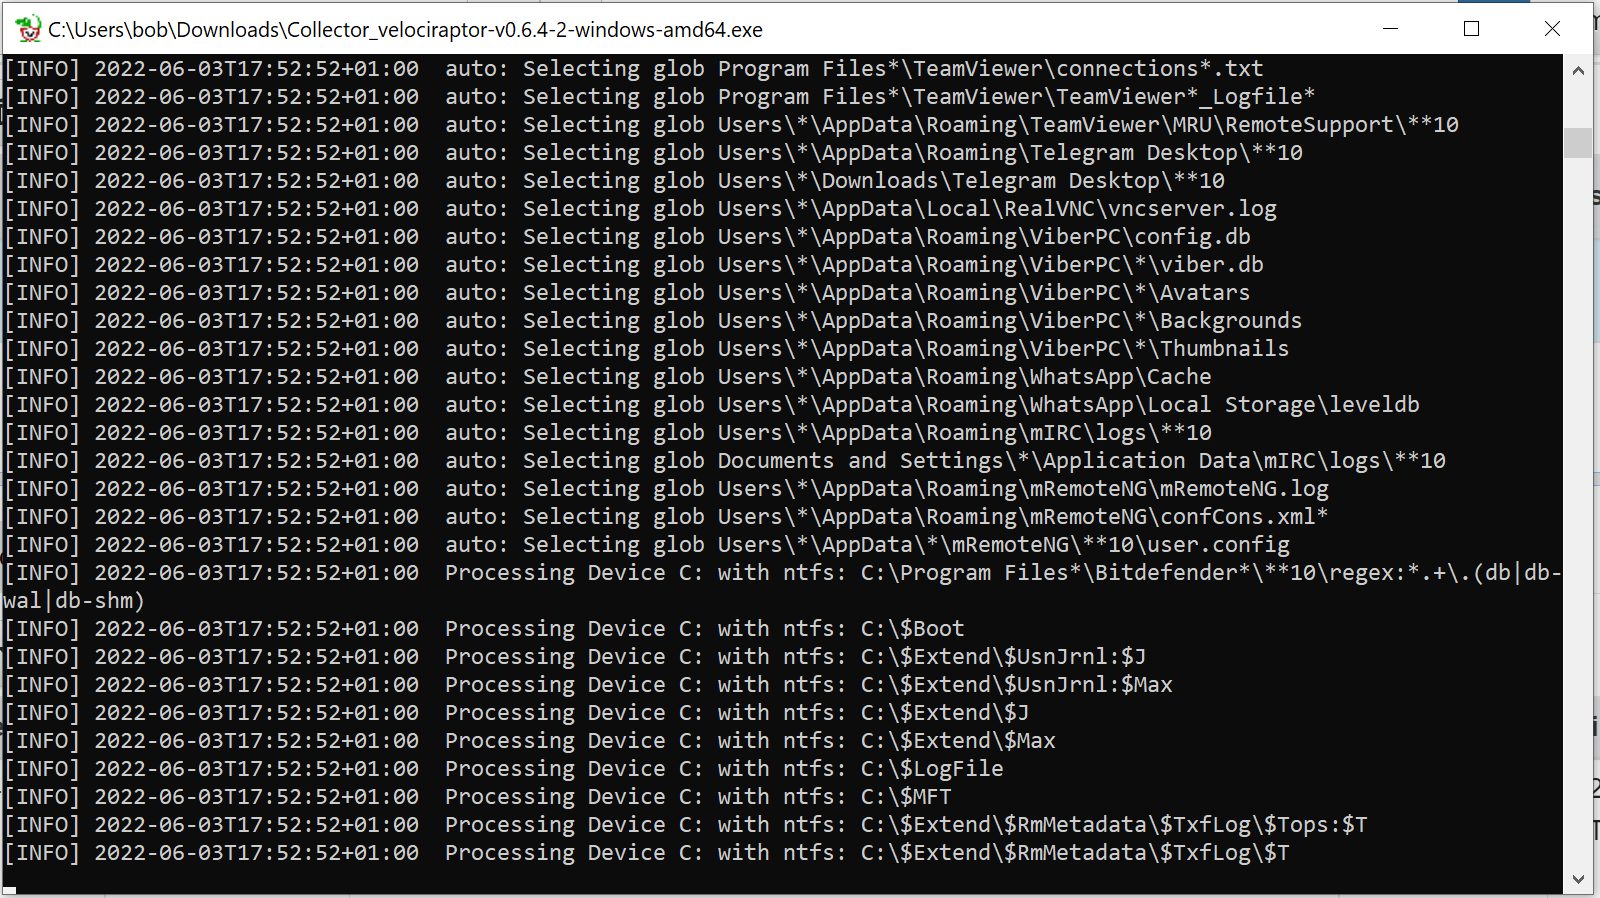
We can now transfer this executable to the host we wish to collect from and execute it as an administrator.

The collector will open a new window displaying all the different files being collected and will close itself as soon as it has finished collecting. After collecting, we can either copy the zip file to our investigator host or access the uploaded file in our Google/AWS/SFTP bucket.
Re-configuring the collector executable
Now, if we have already created an offline collection executable and we want to reconfigure the settings, we can dump the configuration from the collector to YAML, modify the settings in the YAML, and then package it into a new executable.
Extract the configuration from the standalone collector executable:
.\Collector_velociraptor-v0.6.4-2-windows-amd64.exe config show > config.yaml
Once the YAML file is reconfigured, we can repack the collector using the following command:
.\Collector_velociraptor-v0.6.4-windows-amd64.exe config repack config.yaml collector_repacked.exe
We can also verify the configuration with the following command:
.\collector_repacked.exe config show